How to Plan Your Driveway and Patio Project: A Step-by-Step Guide
A well-designed driveway and patio are more than just functional spaces—they enhance curb appeal, increase property value, and create an inviting outdoor experience. Whether you’re planning a brand-new installation or revamping an existing space, careful planning is key to ensuring a smooth and successful project.
This guide will walk you through the essential steps for planning your driveway and patio installation, helping you avoid costly mistakes and get the most out of your investment.
Step 1: Define Your Goals and Needs
Before diving into materials and designs, start by clarifying your objectives. Ask yourself:
- Do you need a larger driveway to accommodate multiple vehicles?
- Are you aiming for a low-maintenance patio for entertaining guests?
- Do you prefer a sleek, modern design or a rustic, natural look?
- Will the space primarily serve as a functional path or an outdoor relaxation area?
Having a clear vision will help you make informed decisions about layout, materials, and budget.
Step 2: Set a Realistic Budget
One of the biggest challenges in any home improvement project is sticking to a budget. Costs can vary significantly depending on materials, labour, and additional features. Here’s how to budget wisely:
Break Down Costs:
- Materials – Paving slabs, block paving, resin, tarmac, gravel, etc.
- Labour – Professional installation or DIY costs (equipment rental, time, effort).
- Drainage Solutions – Ensuring proper water runoff and avoiding puddles.
- Land Preparation – Excavation, leveling, and base compaction.
- Permits and Regulations – Checking local guidelines and planning permissions.
- Finishing Touches – Edging, sealant, decorative elements.
Plan for Contingencies:
Unexpected issues, such as poor soil conditions or additional excavation, can arise. Setting aside at least 10-15% of your total budget for contingencies is a smart move.
Step 3: Analyse Your Site Conditions
A successful installation starts with a thorough site analysis. Here’s what to check:
- Soil Type – Different soil types require different preparation methods. Clay-heavy soil may need extra drainage, while sandy soil might require stabilisation.
- Drainage & Water Runoff – Standing water can damage paving over time. Consider installing drainage channels or using permeable materials.
- Existing Obstacles – Trees, manhole covers, utility lines—identify anything that could affect excavation and installation.
- Sun & Shade – Consider how sunlight and shade patterns affect your outdoor space throughout the day.
Taking time to assess your site will prevent costly surprises during installation.
Step 4: Choose the Right Materials
The choice of materials impacts not only the look but also the durability and maintenance requirements of your driveway and patio. Here are some of the most popular options:
For Driveways:
- Tarmac – A durable, cost-effective solution for high-traffic areas.
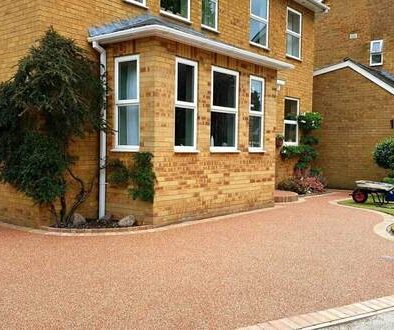
- Resin-Bound Paving – Permeable and visually appealing, ideal for a modern touch.
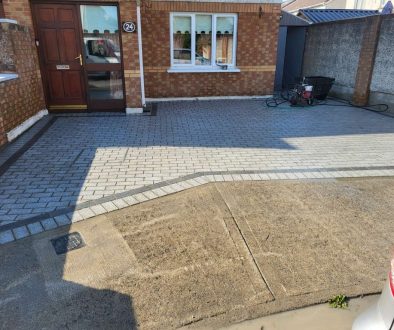
- Block Paving – A timeless, customisable option with various colors and patterns.
- Gravel – A budget-friendly, low-maintenance solution with excellent drainage.
For Patios:
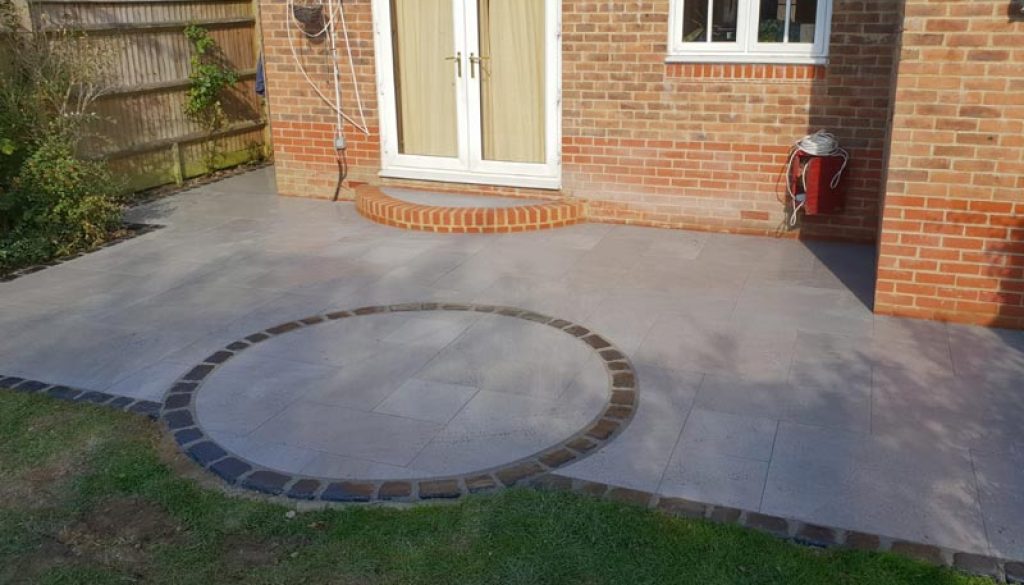
- Paving Slabs (Concrete, Sandstone, or Porcelain) – A versatile choice with a wide range of designs.
- Imprinted Concrete – A durable, patterned surface that mimics brick or stone.
- Natural Stone (Sandstone, Limestone, or Granite) – Offers a premium, long-lasting finish.
Consider aesthetic appeal, durability, maintenance, and budget when selecting materials.
Step 5: Plan Your Design Layout
Your driveway and patio should complement your home’s architectural style. Here’s how to design a functional and visually appealing layout:
- For Driveways:
- Ensure sufficient space for maneuvering vehicles.
- Choose a design that blends seamlessly with your property.
- Consider adding borders or different paving patterns for visual interest.
- For Patios:
- Define separate areas for dining, lounging, or landscaping.
- Use curved edges or mixed materials for a dynamic look.
- Incorporate lighting or built-in seating for added comfort.
Using design tools like Pinterest boards or home improvement magazines can help refine your ideas.
Step 6: Decide Between DIY or Professional Installation
While a DIY approach can save money, paving is a complex process that requires precision. Consider these pros and cons:
DIY Installation | Professional Installation |
Lower costs | Higher initial cost but long-term durability |
Flexible timeline | Faster project completion |
Requires tools & equipment rental | Expert knowledge and skill |
Risk of mistakes | Guaranteed quality and warranty |
For extensive projects, hiring professionals is often the best choice. They ensure proper base preparation, drainage, and material installation—avoiding costly errors.
Step 7: Obtain Necessary Permits & Permissions
Some areas require planning permissions for driveway or patio installations, especially if altering drainage or working near public spaces. Check with your local council or municipality about:
- Drainage regulations
- Driveway extension rules
- Property boundary considerations
- Environmental impact restrictions
Securing the right permits will prevent legal issues and ensure your project meets all local codes.
Step 8: Prepare the Site Properly
Good site preparation lays the foundation for a durable driveway or patio. The process typically includes:
- Clearing the Area – Removing vegetation, debris, and old paving.
- Excavation – Digging to the required depth for stability.
- Base Layer – Adding and compacting crushed stone or gravel for a strong foundation.
- Drainage Solutions – Installing channels or slopes to direct water away.
Skipping proper preparation can lead to cracking, shifting, or water pooling, reducing the longevity of your paving.
Step 9: Consider Long-Term Maintenance
Your driveway and patio require ongoing maintenance to preserve their beauty and function. Key maintenance tips:
- Seal Paving – Protects against stains, weather damage, and wear.
- Regular Cleaning – Sweeping, power washing, or weeding as needed.
- Inspect for Damage – Address cracks or loose pavers promptly.
- Reapply Jointing Sand (for Block Paving) – Prevents shifting and weed growth.
A little upkeep goes a long way in maintaining your investment.
A Well-Planned Driveway & Patio for Years to Come
Planning your driveway and patio installation is a strategic process that ensures long-term success. From defining your goals to selecting the right materials, site preparation, and choosing between DIY or professional installation—each step plays a crucial role.
By following this step-by-step guide, you’ll be well on your way to creating an outdoor space that enhances your home’s curb appeal, functionality, and value.
Ready to bring your vision to life? Contact us today for a free quote and expert advice on your paving project!


